I am so excited! We are all starting together on this amazing adventure called Modern Tiles Sew Along :)
This week is really easy. It is more about getting your quilt vision ready than having a full schedule.
This is mostly an information week, but if you want a prompt, it will be to post your fabric selection. More details at the end of the post :)
This post is part of the Modern Tiles Sew Along! See all posts.
Pattern
Do you have your pattern ready?
Of course the first thing you need, is the Modern Tiles pattern. If you haven’t bought your copy, please do so now :)
For 20% off use the coupon MODERNTILES at checkout.
Valid including 20th of June.
If you are like me, you might also want to transfer that file to your iPad/tablet if you have one, so that you can easily check things later on.
Quilt Size
How big do you want your quilt?
There are a few quilt sizes included in the pattern. But maybe your favorite quilt size is different. Now is the time to do your math and note down the changes including fabric needs for your personal version.
You can adjust the quilt size for an FPP pattern in two ways:
- You can either change the size by adding a row and/or column.
- Or you can scale the pattern templates.
Let’s say my goal where a German duvet size of 155cm × 220cm (aka approx.: 61″ × 86″). So my quilt could be either 3 × 4 blocks for the smaller version or 4 × 5 blocks for the bigger version. Both these combinations are actually in the pattern so I could pick either the throw or the twin size.
But I can also get closer to my desired size by scaling the template to 94%. Which would give me a ~17″ block and a quilt size of 68″ × 84″.
Please be aware, that if you change the template size, the necessary amount of fabric will change, too!
In this case, I might not mind the extra cut-off but rather like the slightly smaller size. But if you scale the template by a lot, I would recommend to redo the fabric planning or “wing it” with a fitting WOF strip. Though that will take the benefit of having that part figured out away from the pattern. But I know a few of you do have fun with things like that ;))
I you finished a top of at least the baby quilt size or ≥ 12 blocks during the Sew Along you are eligible to win a prize!
Colors
Did you pick a color scheme yet?
The pattern comes with three versions “Mix & Match”, “Colorful Accents” and “One Accent”.
So before you pick the actual fabrics and your color scheme, you need to decide which version you want to sew. Because that decision will also impact the necessary amount of fabric! So let’s take a closer look at the options.
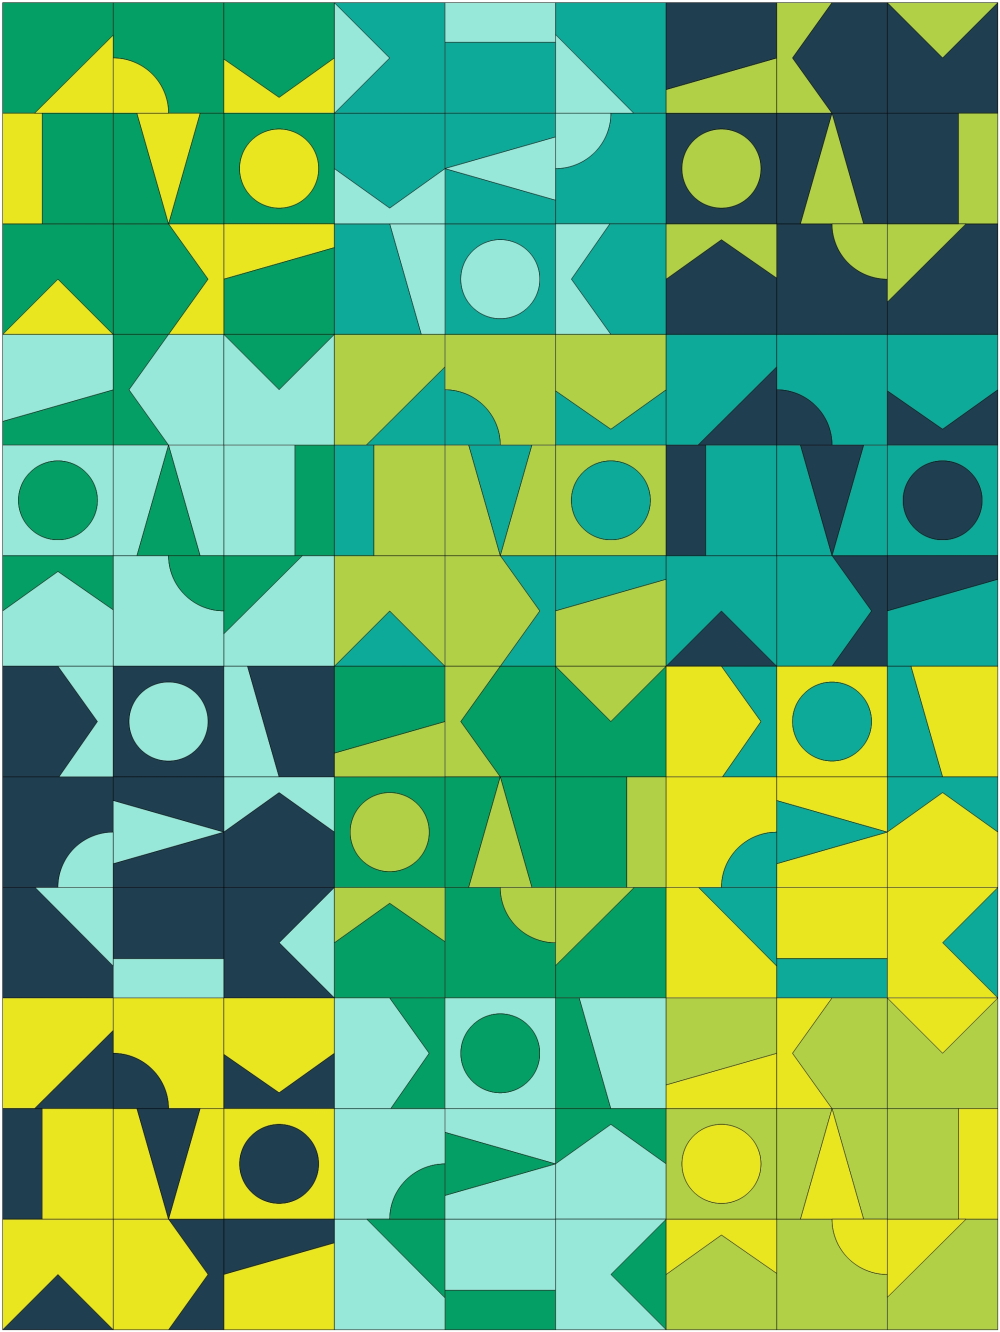
“Mix & Match”.
You pick as many fabrics as blocks are necessary. Each fabric will be the background in one block and the accent in another.
This version is the most economic fabric wise – aka has the least cut-off.

Colorful Accents
Here you pick one background fabric. It is the same throughout all the blocks. And then you pick (contrasting) accents fabrics – as many as blocks are necessary.
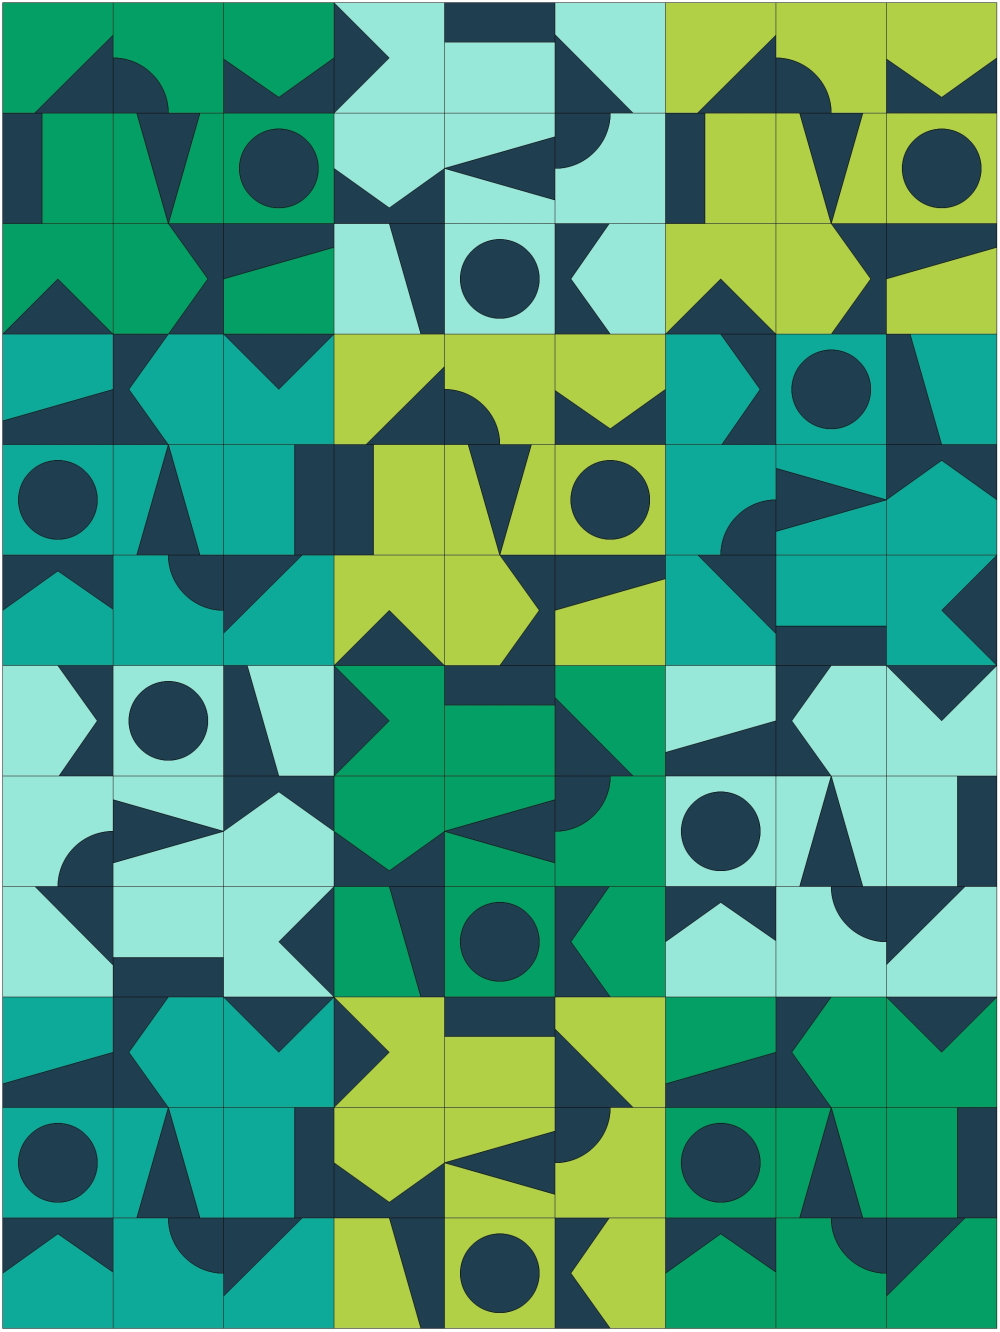
One Accent
This version is the opposite of colorful accents! You have various background fabrics – as many as blocks are necessary. And for the accent you pick one fabric that stays the same throughout all the blocks.
There is actually a fourth option which a few pattern testers used and that you can also see in my pink-orange version. To have colorful accents and mixed background but that is easy once you understand the differences.
For other creative ideas I would also recommend the Quilt Parade blog post with details and lots of pictures for options.
For the necessary fabric please refer to the “Fabric Requirements” on page 6 of the pattern.
Organization
How do you stay organized?
In general I am organized by nature but sometimes … psssst. So I was wondering what we all could do to start in a neat fashion that will help us stay that way throughout.
Tip 1: Keep your project together in one box/container or basket
I use clear plastic boxes that I can stack on my shelf. But use whatever you have on hand.
But it helps if you keep it in one place whenever you switch to something else and thus do not scatter it all over your sewing room!
Tip 2: Label your pieces
I love to label blocks when I have finalized the layout but can’t directly sew them together off the design wall. I simply print small squares with block number and row on it and then attach them with a pin to my block. This way I can store or transport them without worrying about messing it up and having to start all over.
This idea also works for block pieces in case you find it hard to figure out where each piece was supposed to go to – maybe especially after a short break in between. Labels are included in the pattern on page 20. You can print and cut them out. One page has enough labels for two blocks. You can then pin or clip them to each fabric piece directly after you cut everything. Alternatively you could also use a sticker like from an address label or a post-it note.
Tip 3: Use Ziploc bags or clear sheets to store a set of pieces for one block
It might also be nice to store each set of background/accent aka each block set in one zip lock bag or a clear sheet. If you prefer to mark the bag with a sharpie, I have read, that you can remove the text with nail polish or rubbing alcohol to reuse it. No need to unnecessarily waste plastic.
I also like to stack each block set on one page of simple paper and store that stack in a way it can’t get shuffled.
On Another Note: I love to clean up my sewing space and maybe even finish a WIP before starting something new. So that could also be an inspiration for this week before we start to get into the full schedule.
Weekly Prompt
Fabric Selection
I hope very much, that you will post your progress throughout the Sew Along and that we can have a fun community event here on the blog and on Instagram – liking , commenting, answering questions and maybe helping with decisions. But there will be no obligation to post a picture for a prompt. So if you get ahead or fall behind, you can always post whatever you feel like and also have plenty of time to catch-up. The only mandatory IG post will be of the “finish” at the end so that I can put your project in the hat for drawing the prizes :)
Nonetheless I know it is nice to have some goal and IG post idea. So for this week it is: Fabric Selection.
For your post on Instagram please use the #ModernTilesSewAlong.
My Own Progress
Quilt Size & Fabric Selection
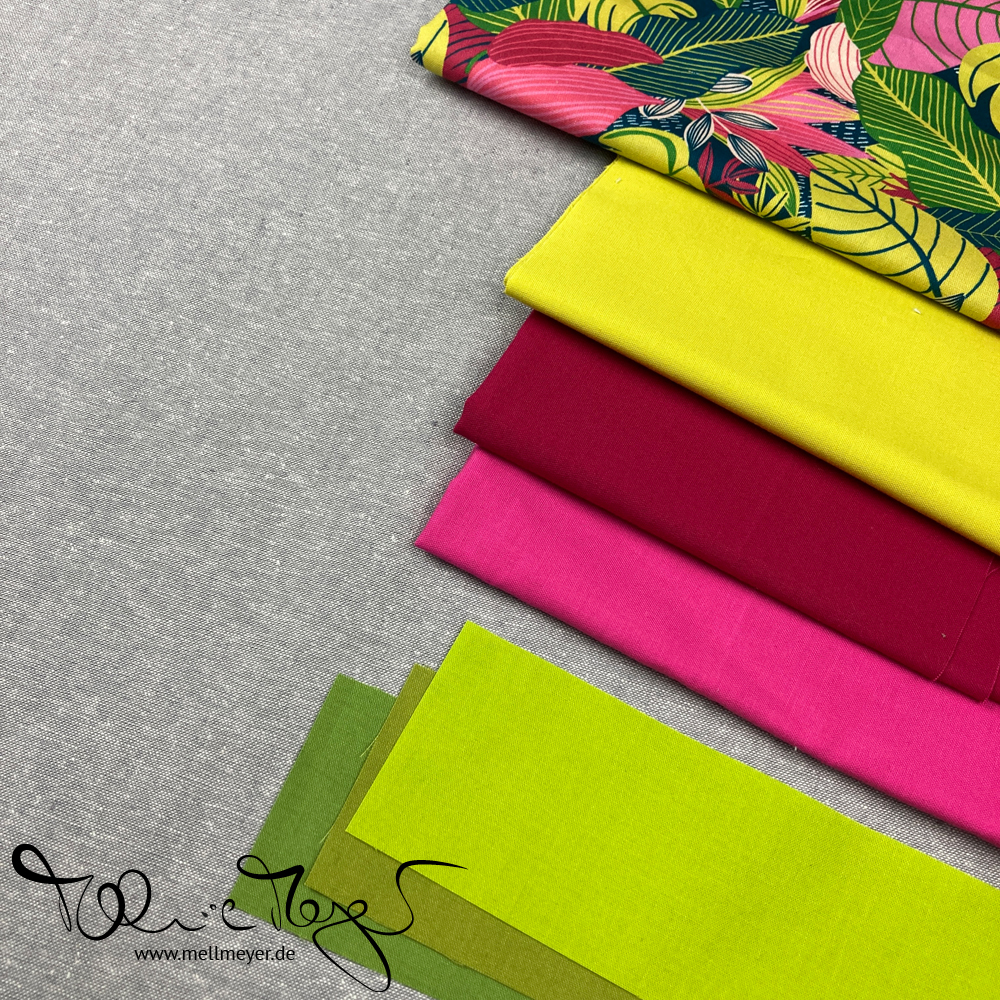
I will do a small quilt – most likely the baby size. And I new right away that I wanted to do something with the grey essex linen I have on hand. And that it would be the “Colorful Accent” version. The I decided on some selfmade fabric – or as a friend calls it “confetti fabric”. I just had no idea what colorway, which scraps…
In the end I choose these: The remaining jungle fabric form my Leafy quilt and some fitting solids – including some greens – which I never have the right ones in my stash. They are from my Aviatrix – my first IG project from 2014. Time I found them a home, right?
I will make fabric in some improv way and then use it for the accents. I might do all of the accents in this “confetti fabric” or I might use it only for a few and use solids or the big scale print for the others… Still no real clue and I didn’t do any math so wish me luck!
So, are you ready? What have you picked and which tasks are you still planning to do before next Sunday? Any other tips you want to add? I am looking forward to your comments!
And if you want to post your fabrics, remember to use the #ModernTilesSewAlong. And tag me @mellmeyer if you want to. As we do not know each other yet, how about we add a few facts about ourselves. I will do an IG “Five Facts About Me” post, too.
Also if you haven’t yet signed up for the newsletter. Do it now, that way you can’t miss any new posts and information.
See you next week!
Best wishes
xo Melanie

